This documentation is for Stably Classic. For the new Stably Web Editor, see Stably Web Editor.
Setup Steps
1
Access Google Account Settings
Sign in to your test Google Workspace account at
accounts.google.com.2
Navigate to Security Settings
Select ‘Security’ from the left sidebar menu.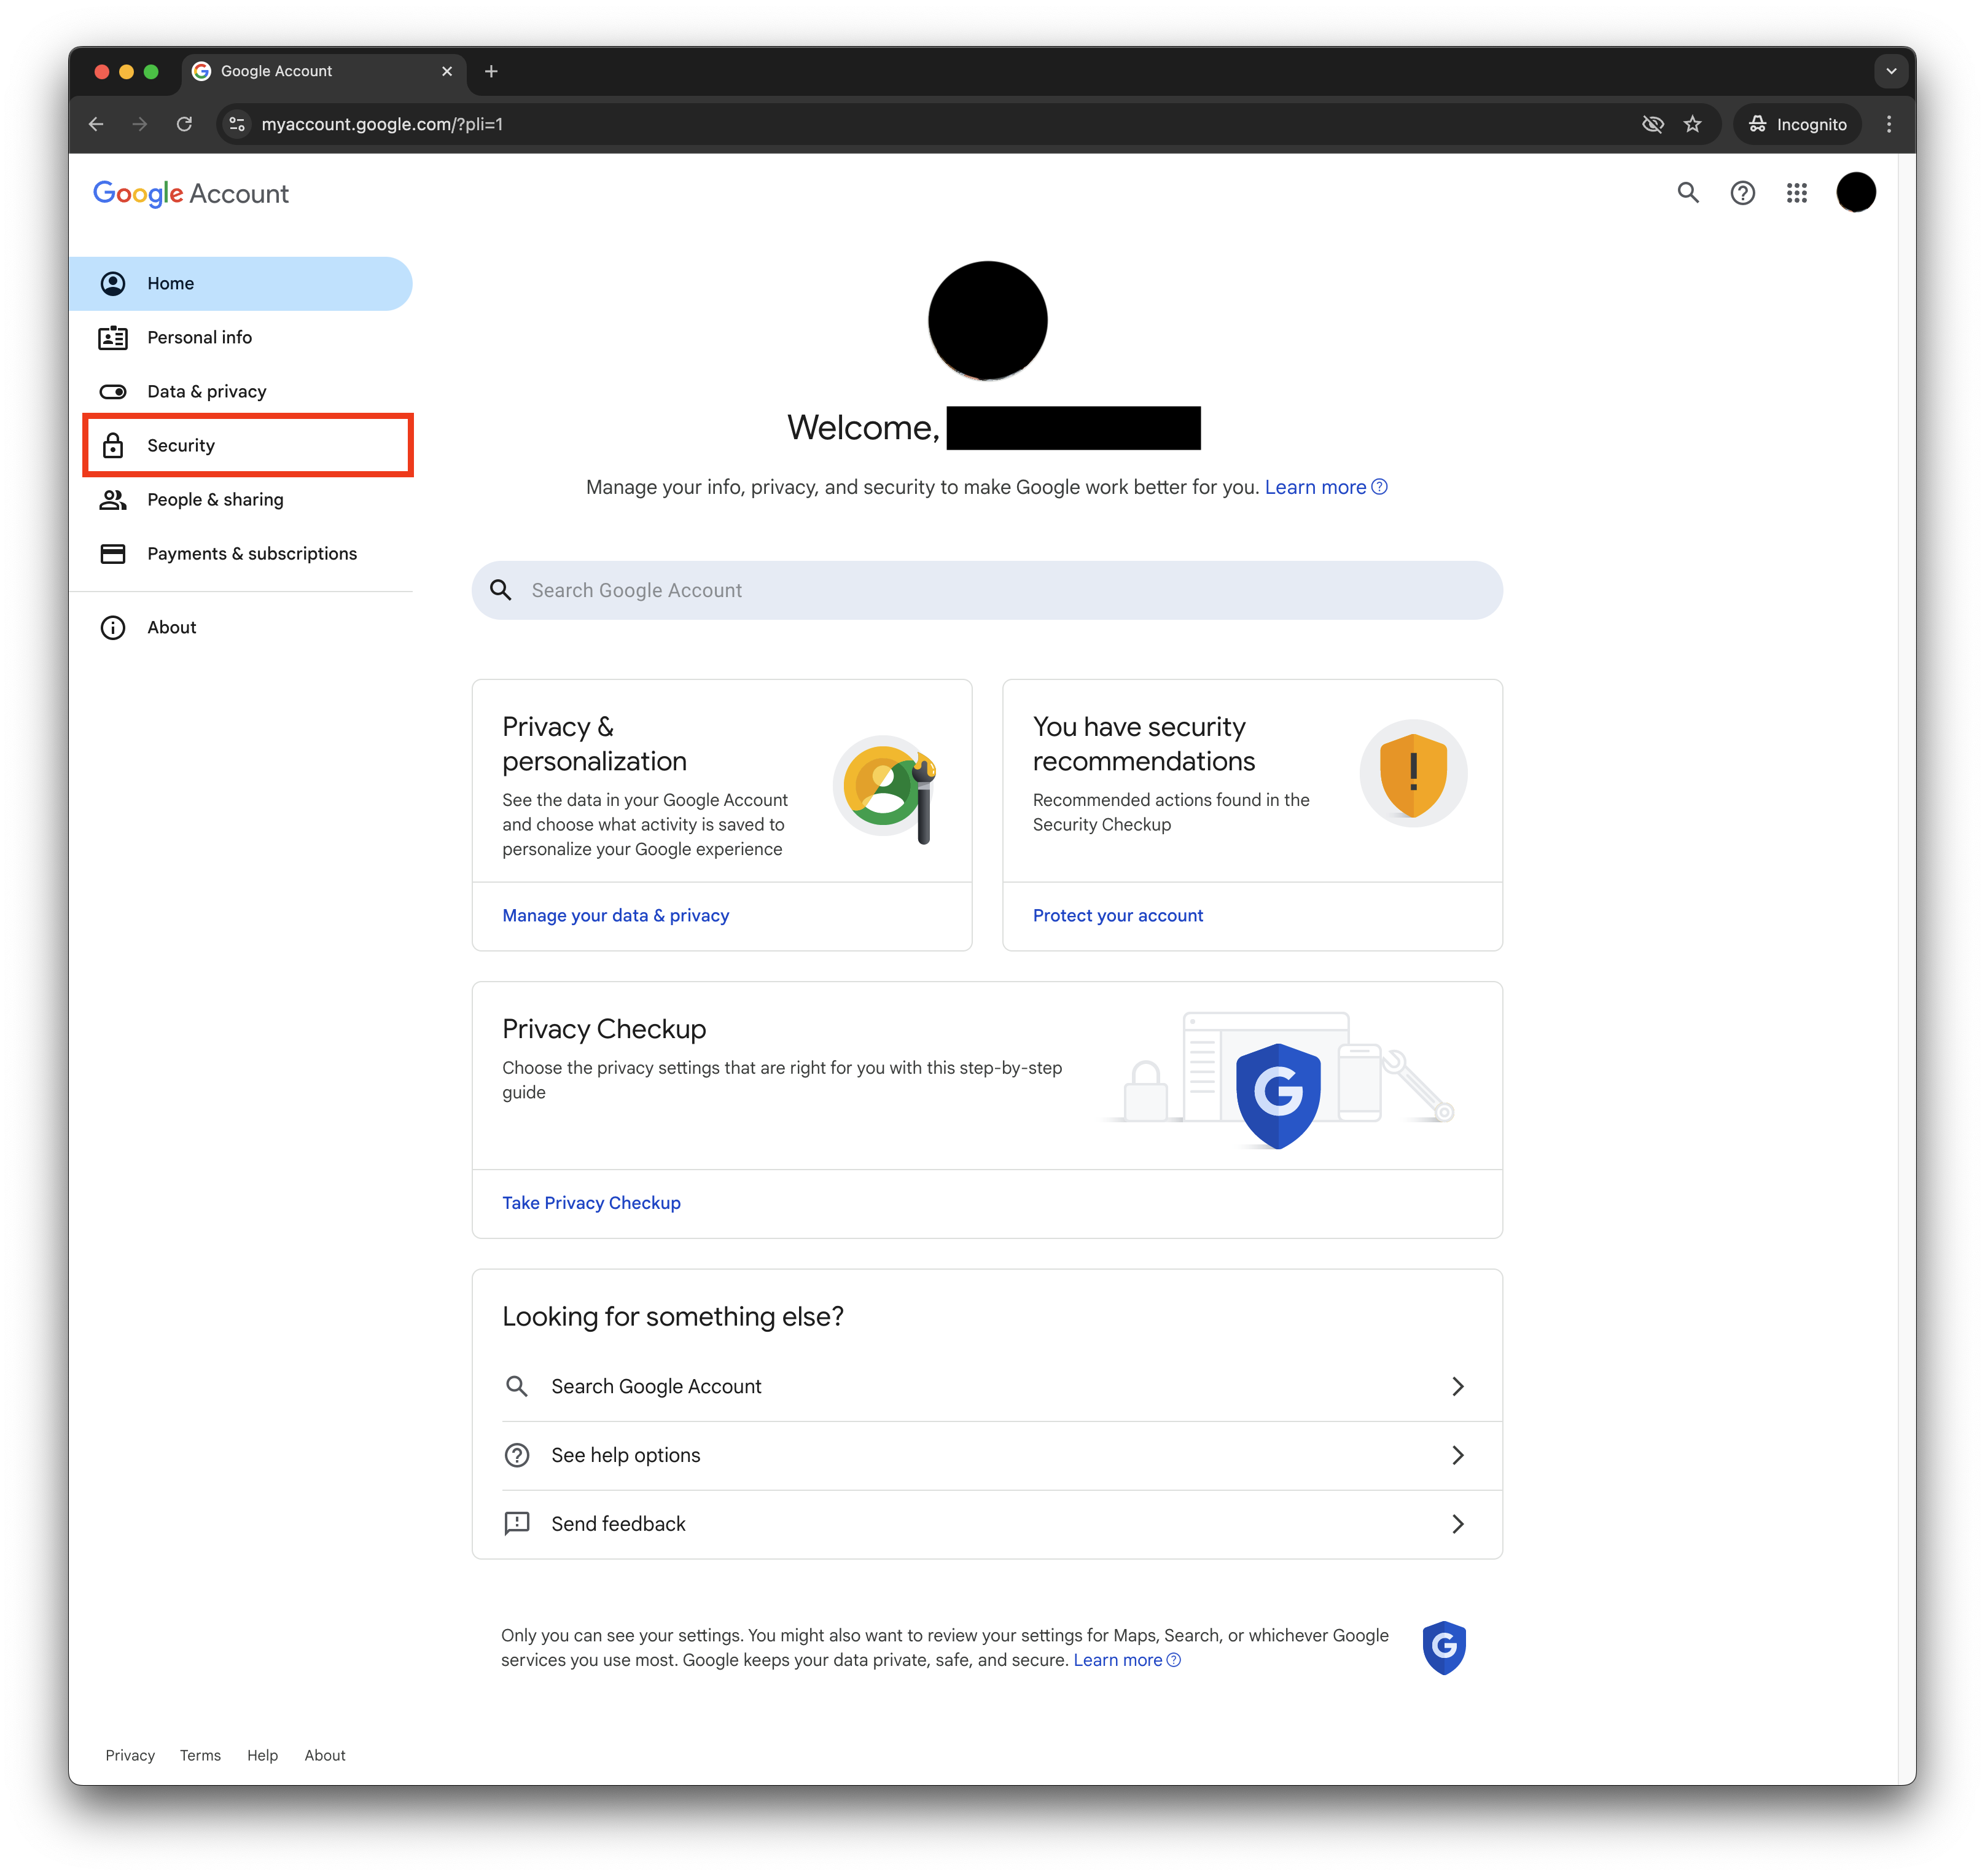
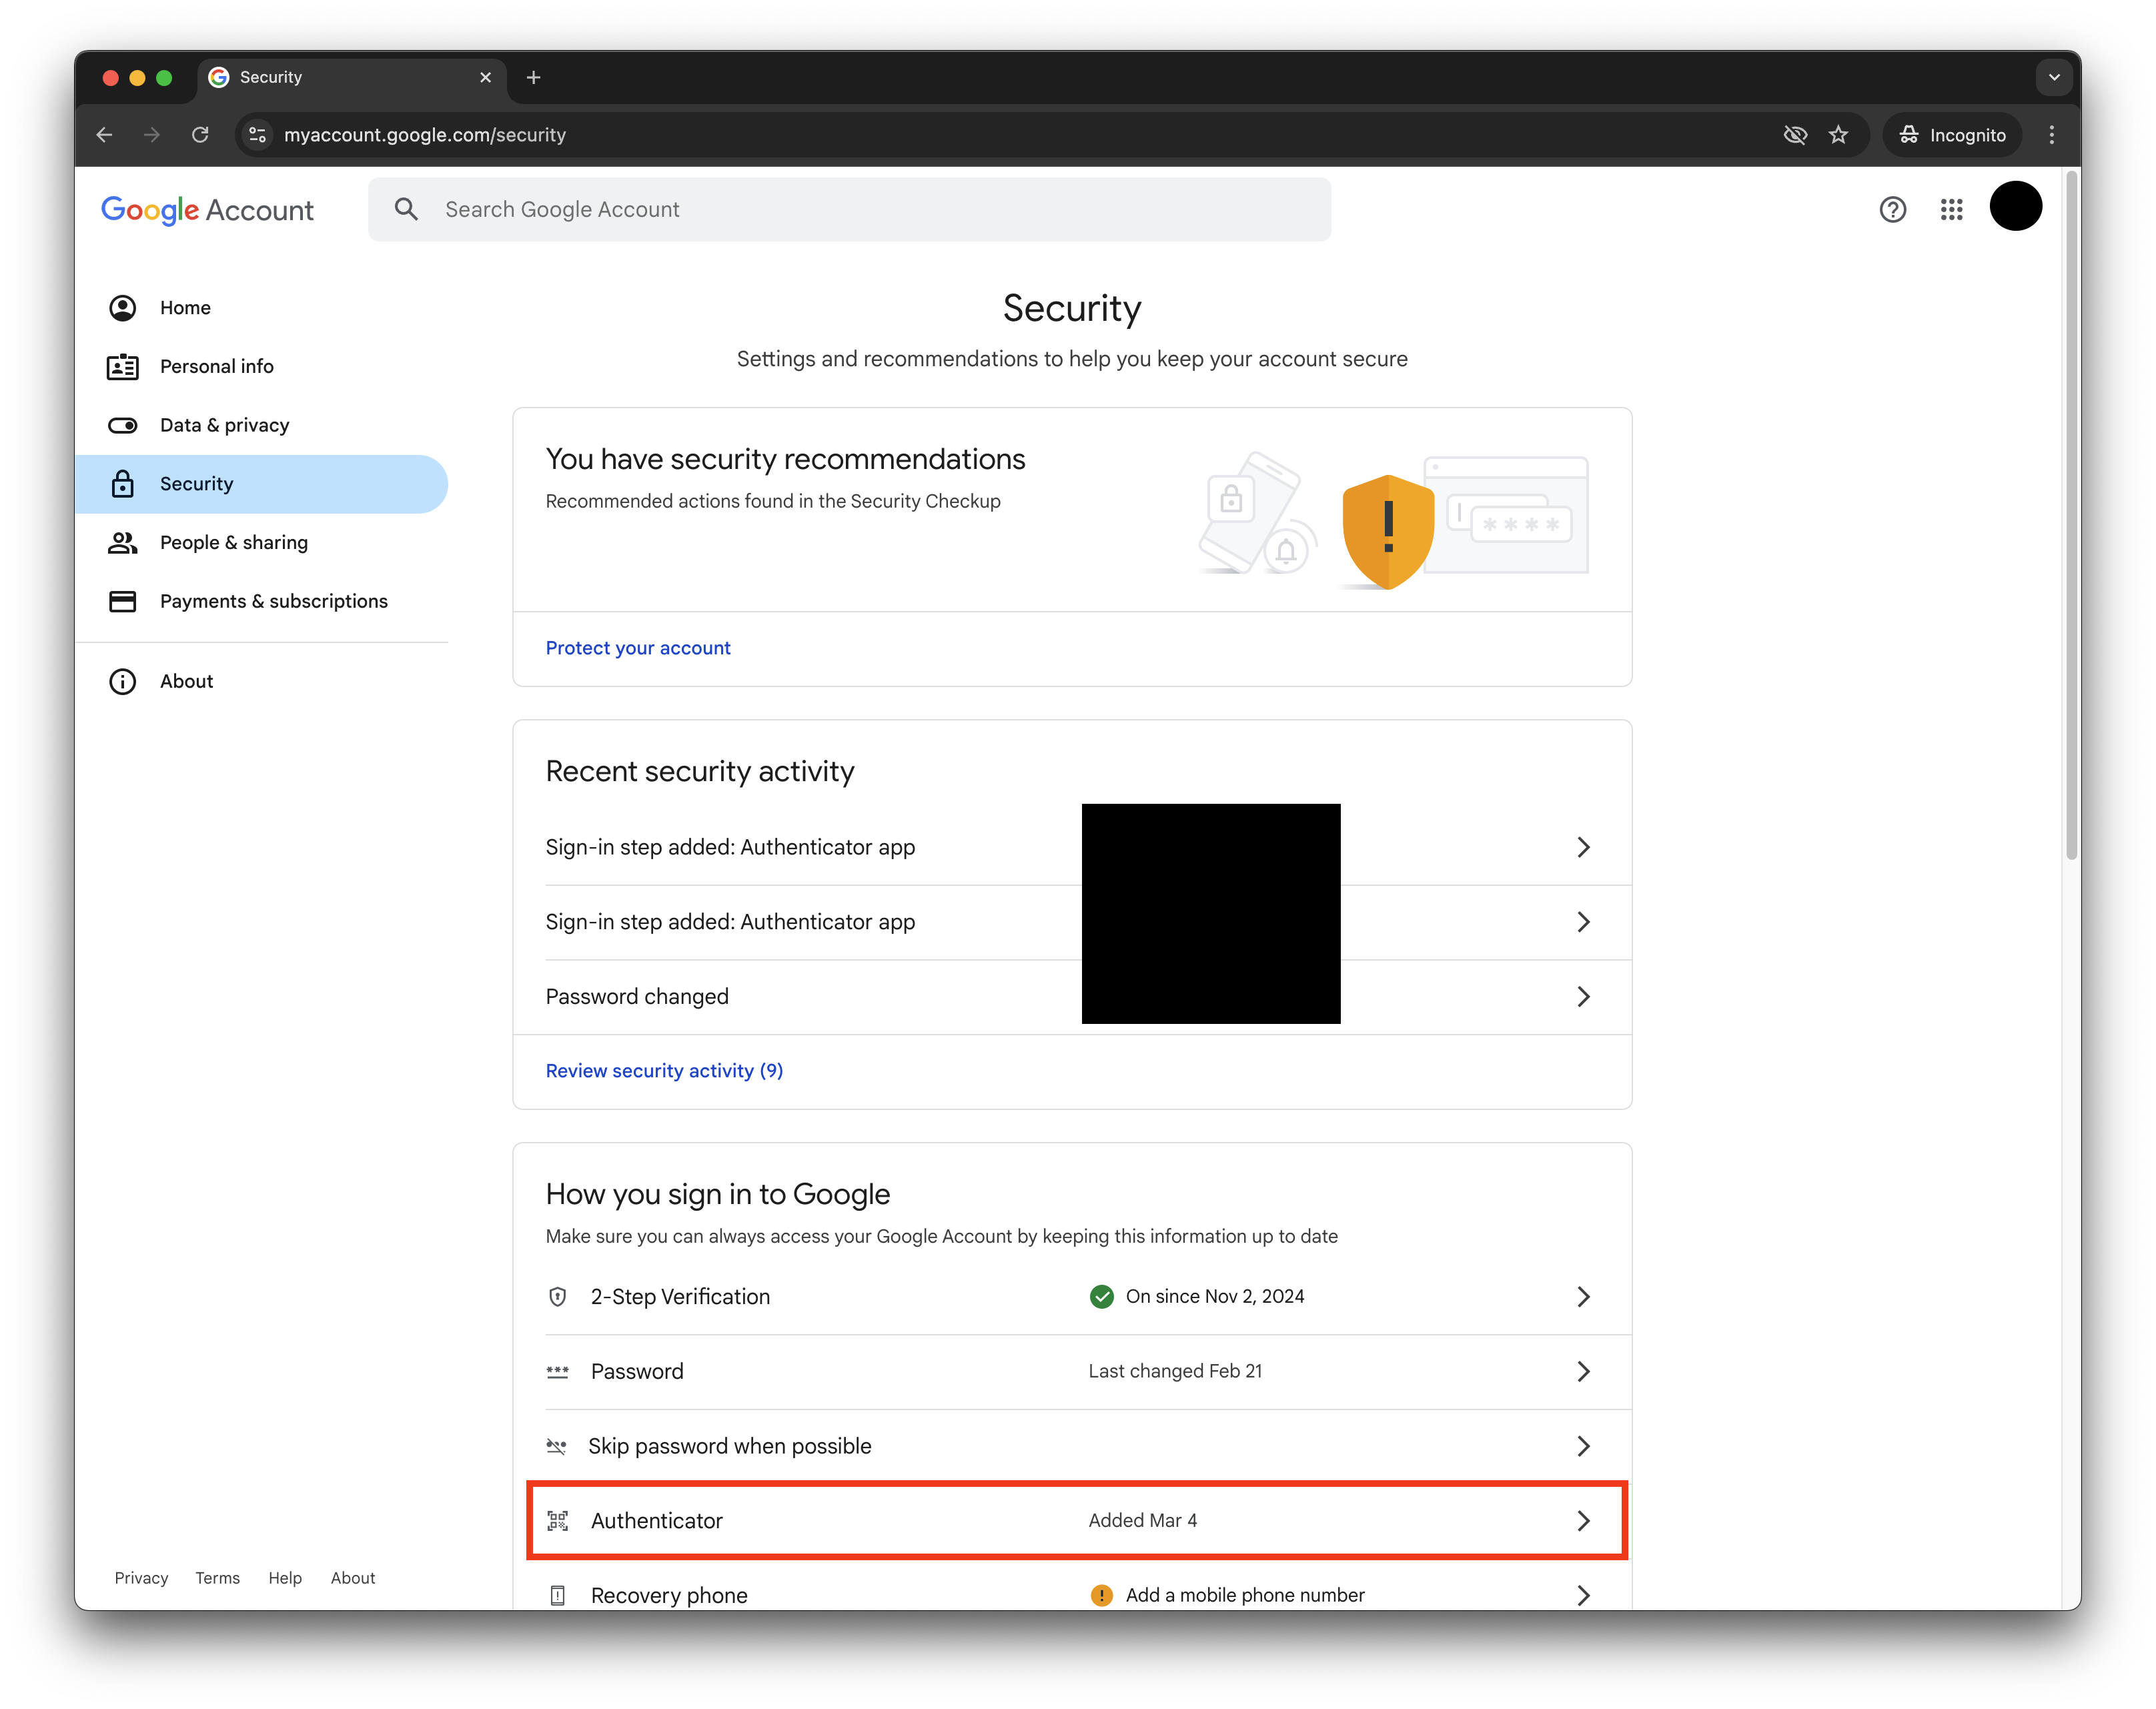
3
Scroll to 'How you sign in to Google' and click 'Authenticator'
4
Click 'Add Authenticator' (or 'Change Authenticator App')

Note: This will invalidate your previous Authenticator app setup.
5
Access OTP Secret
When the QR code pop-up appears: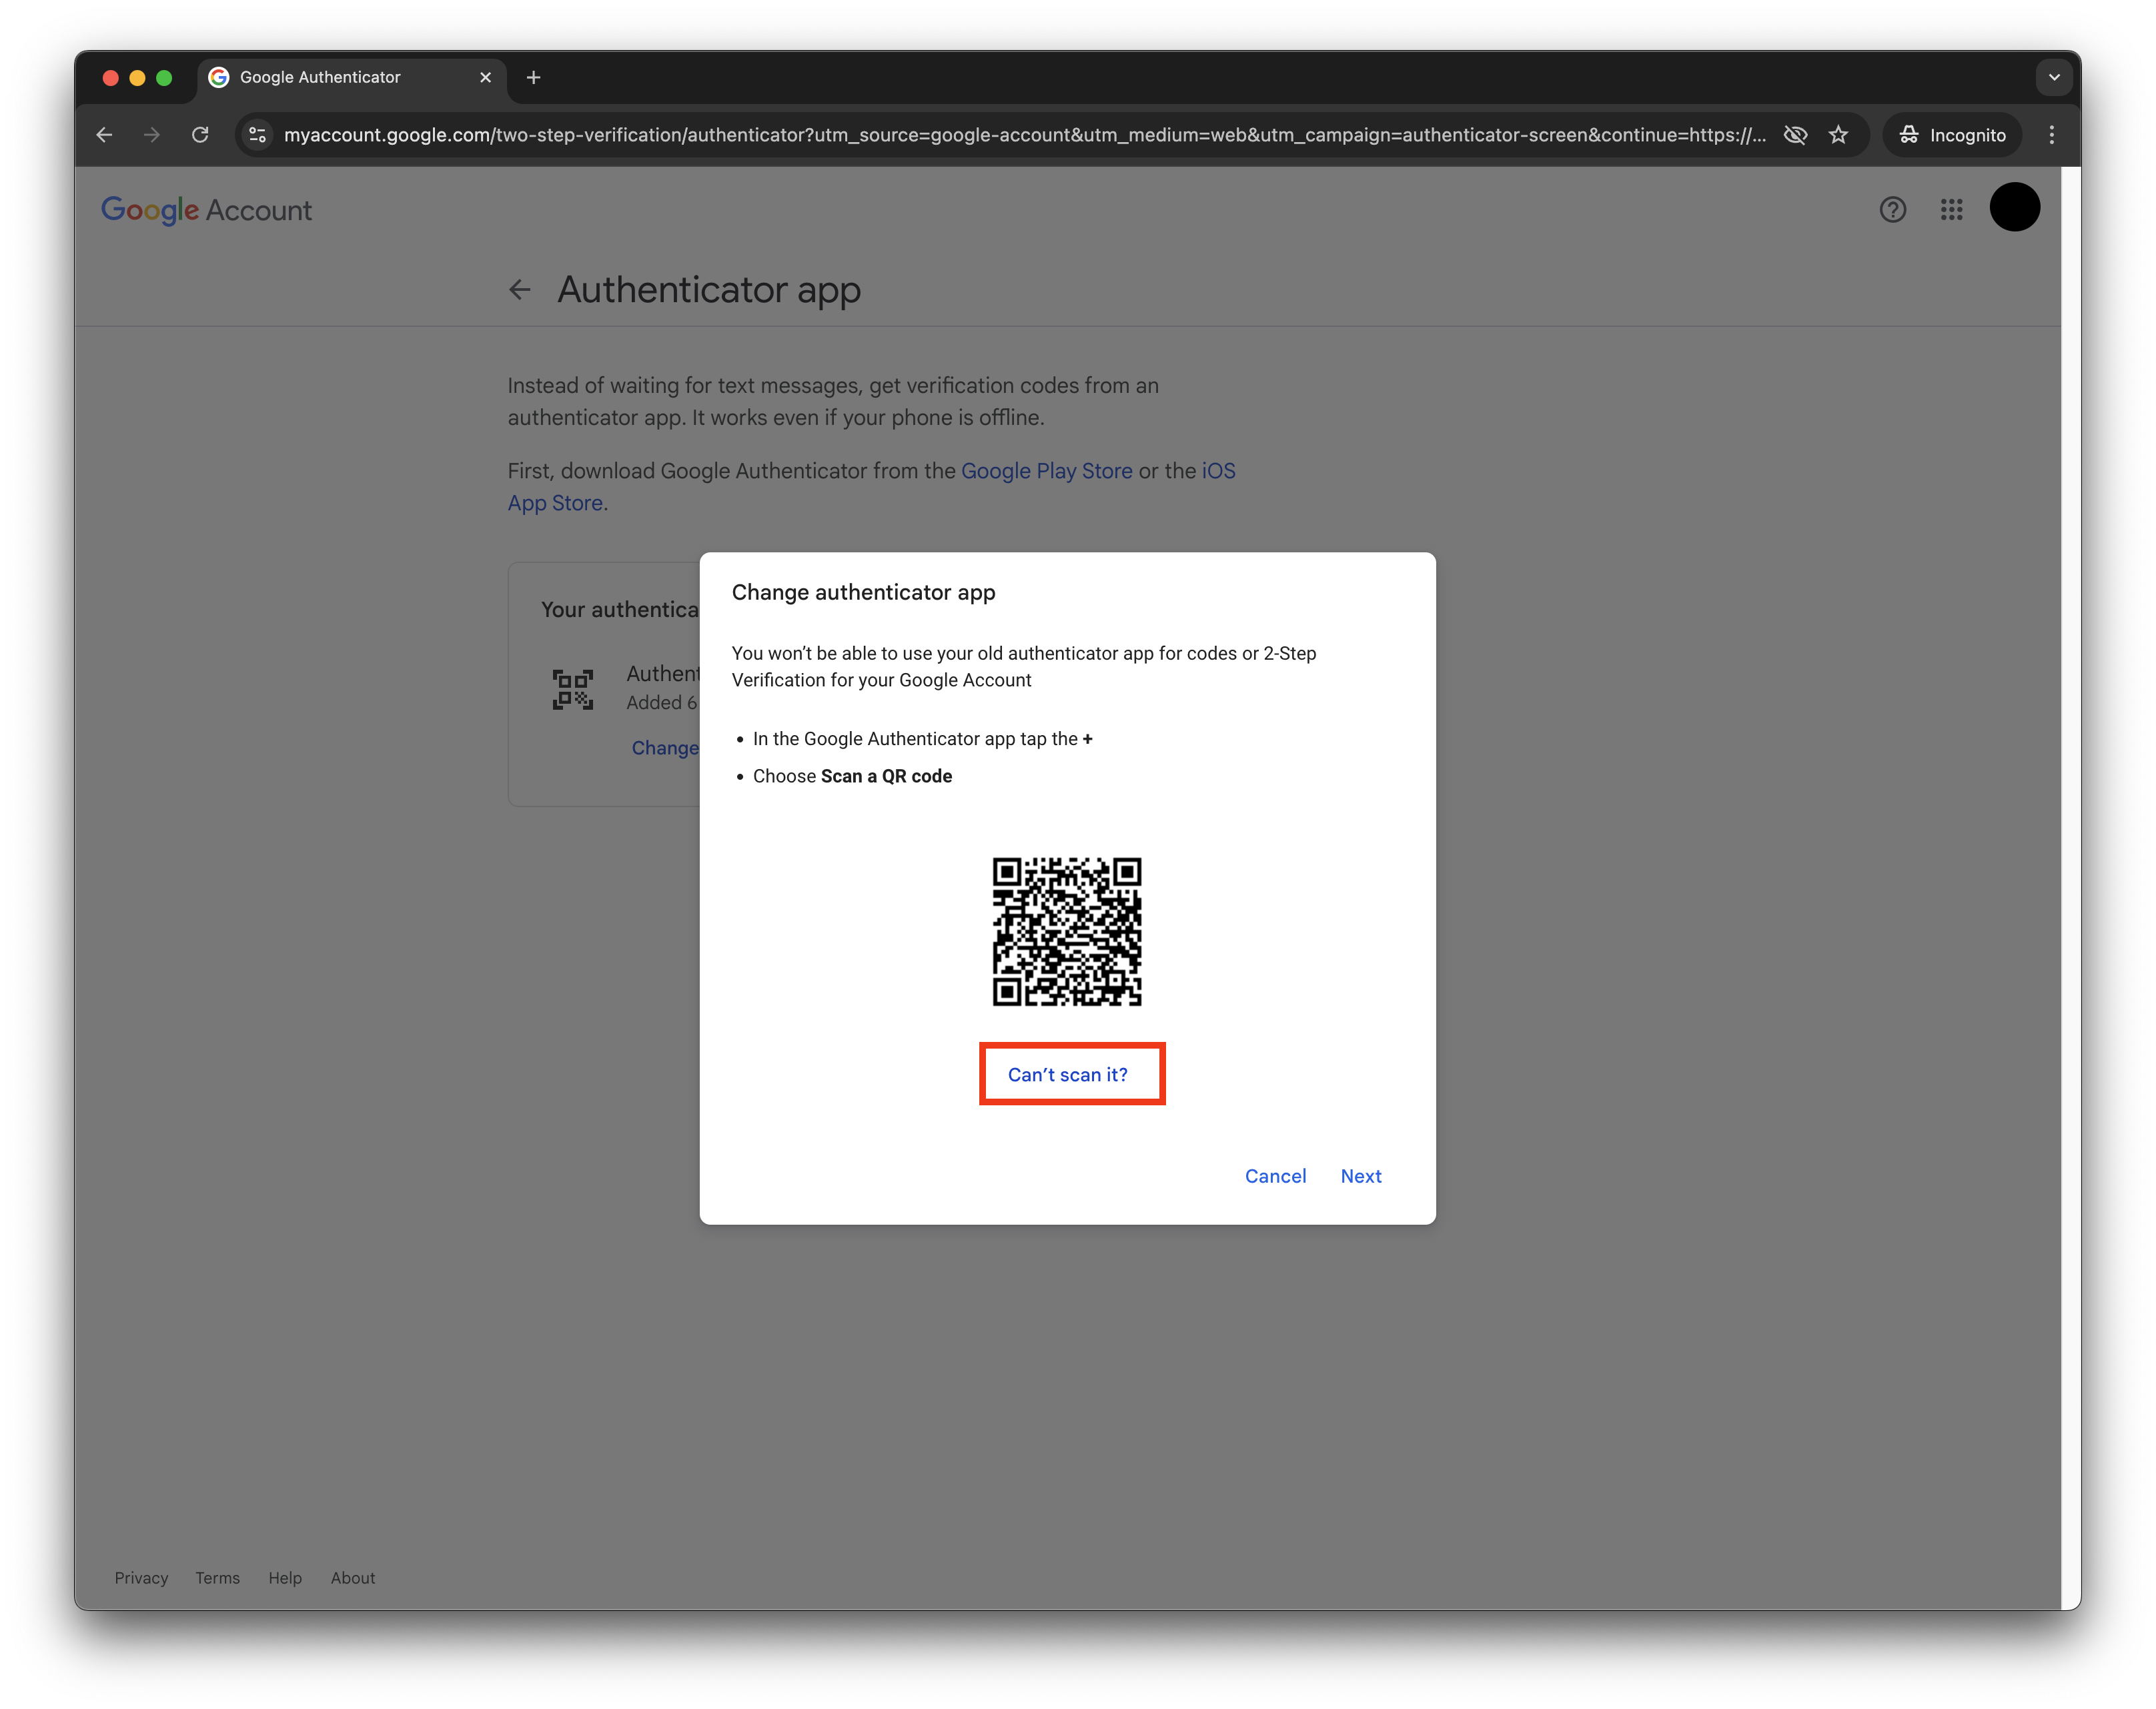
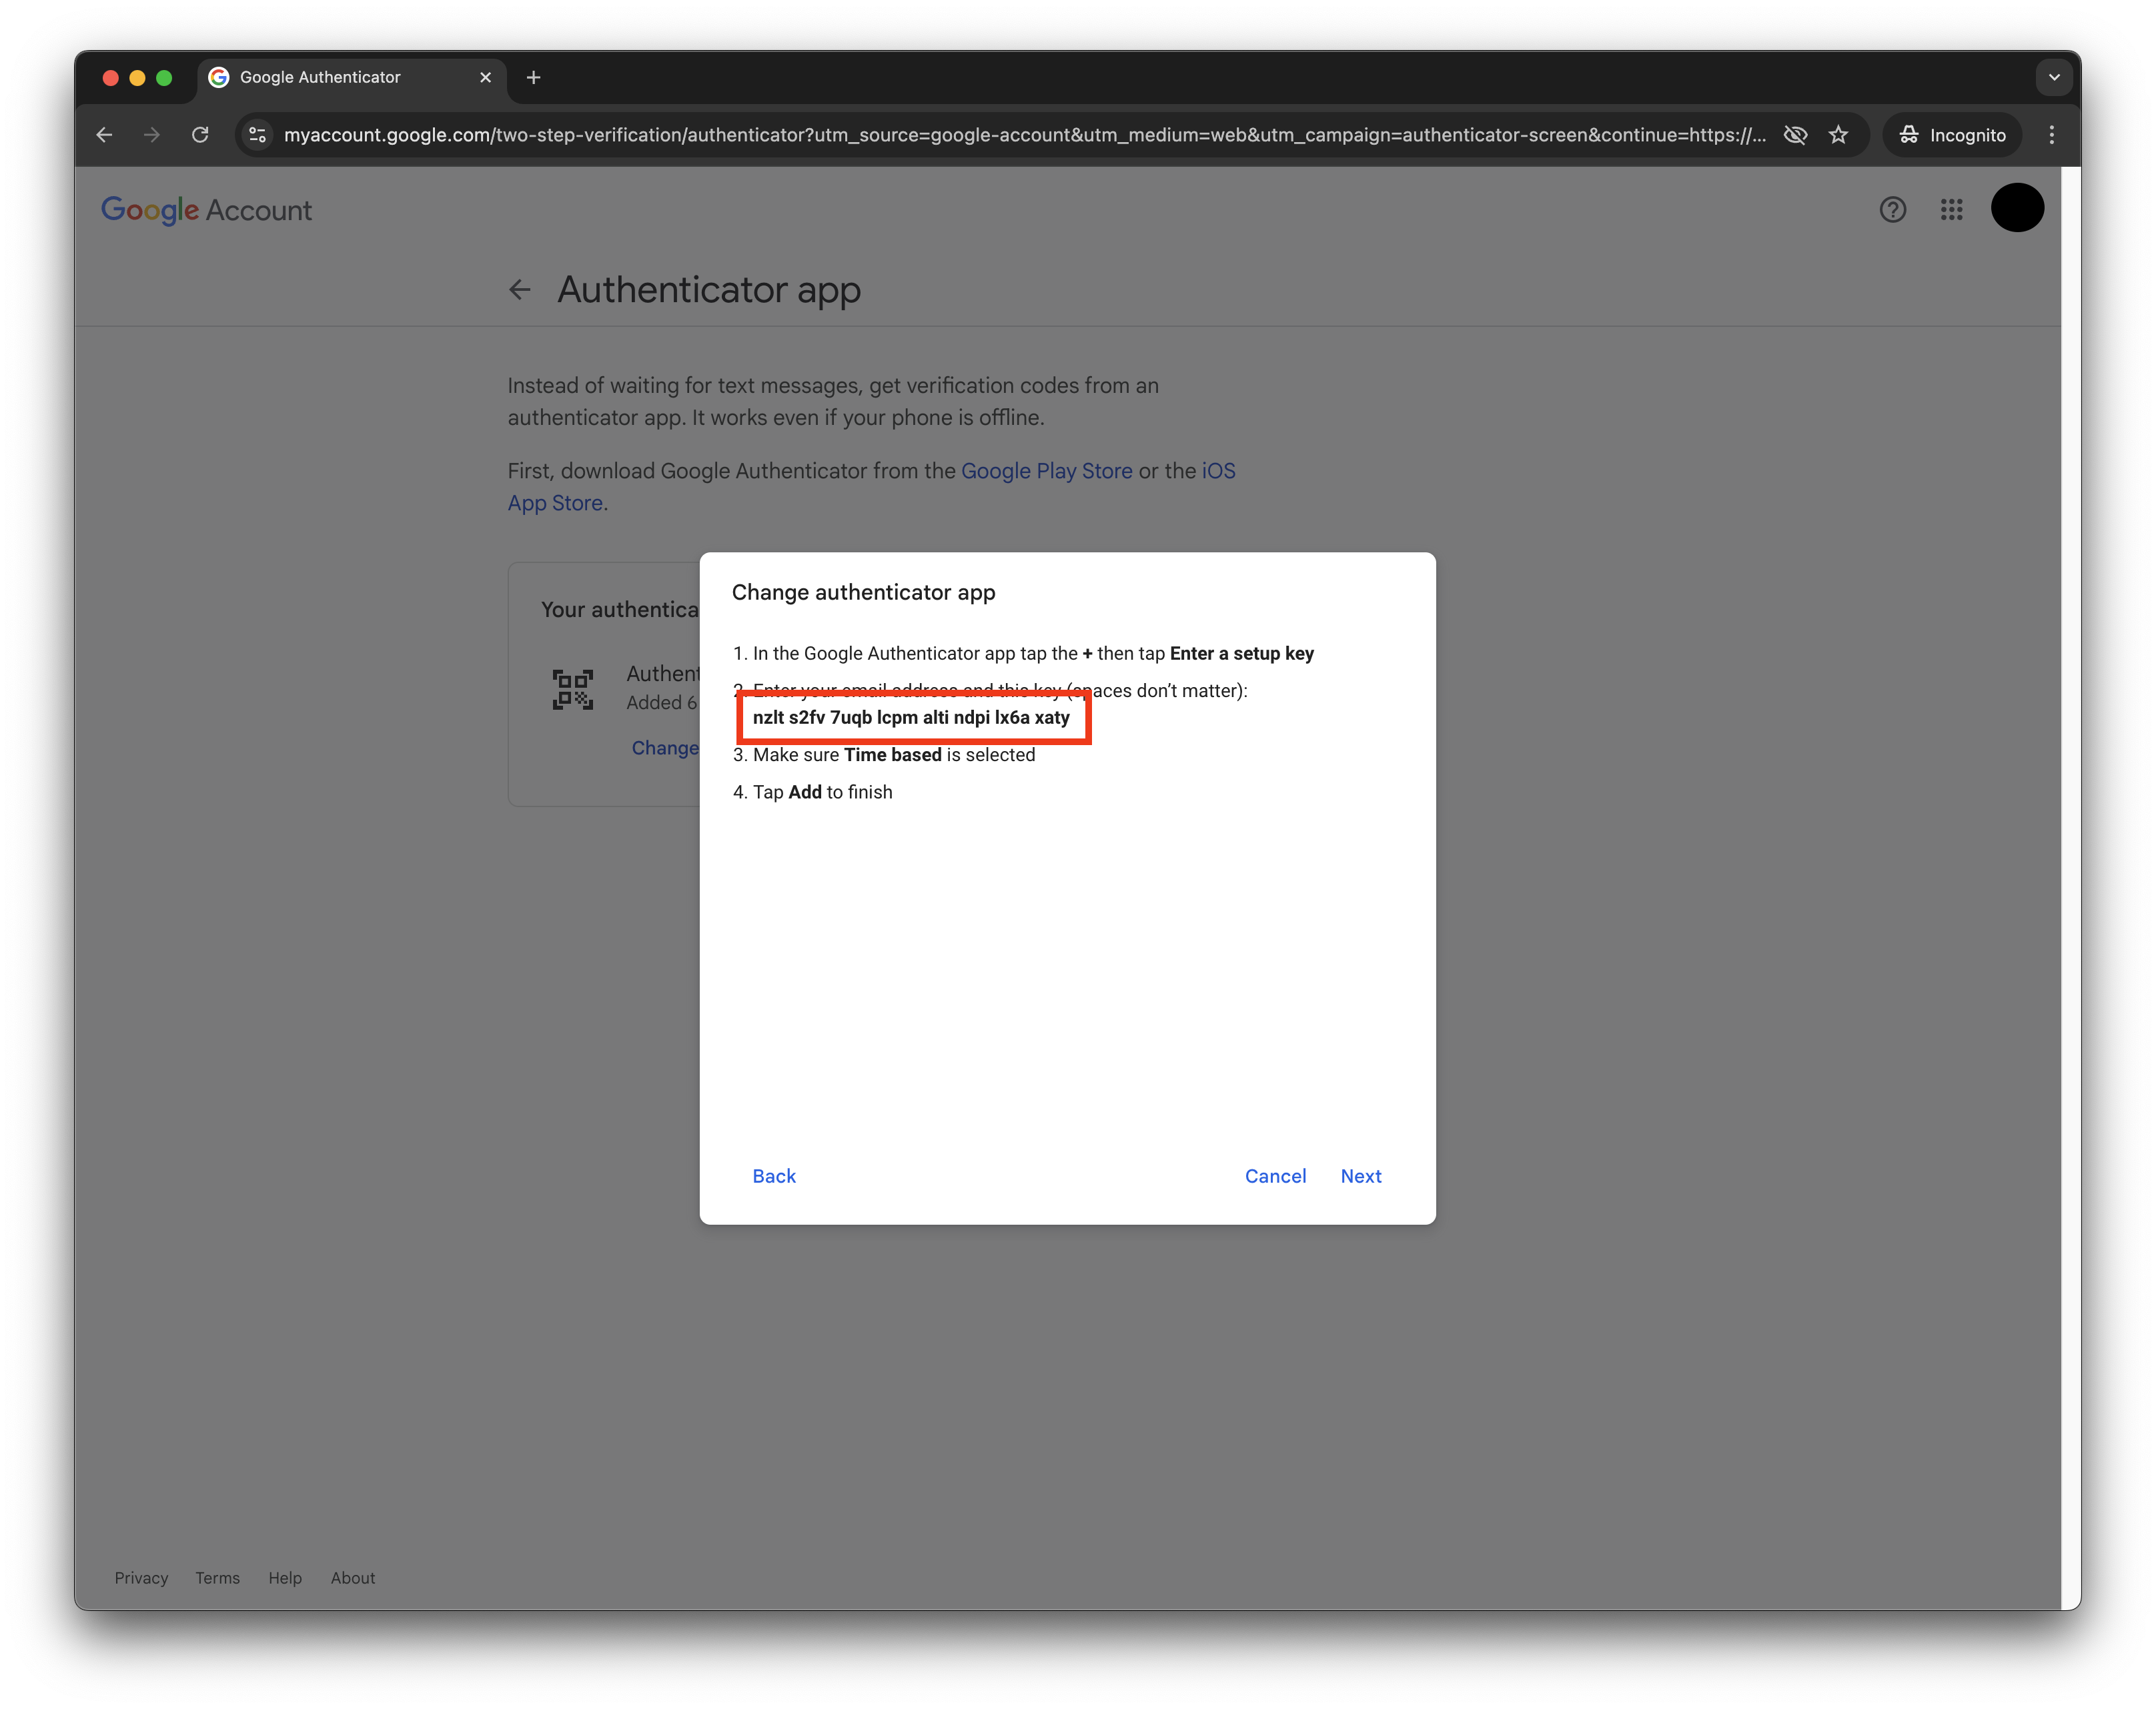
- Click ‘Can’t scan QR code’
- This will reveal the OTP secret in text format
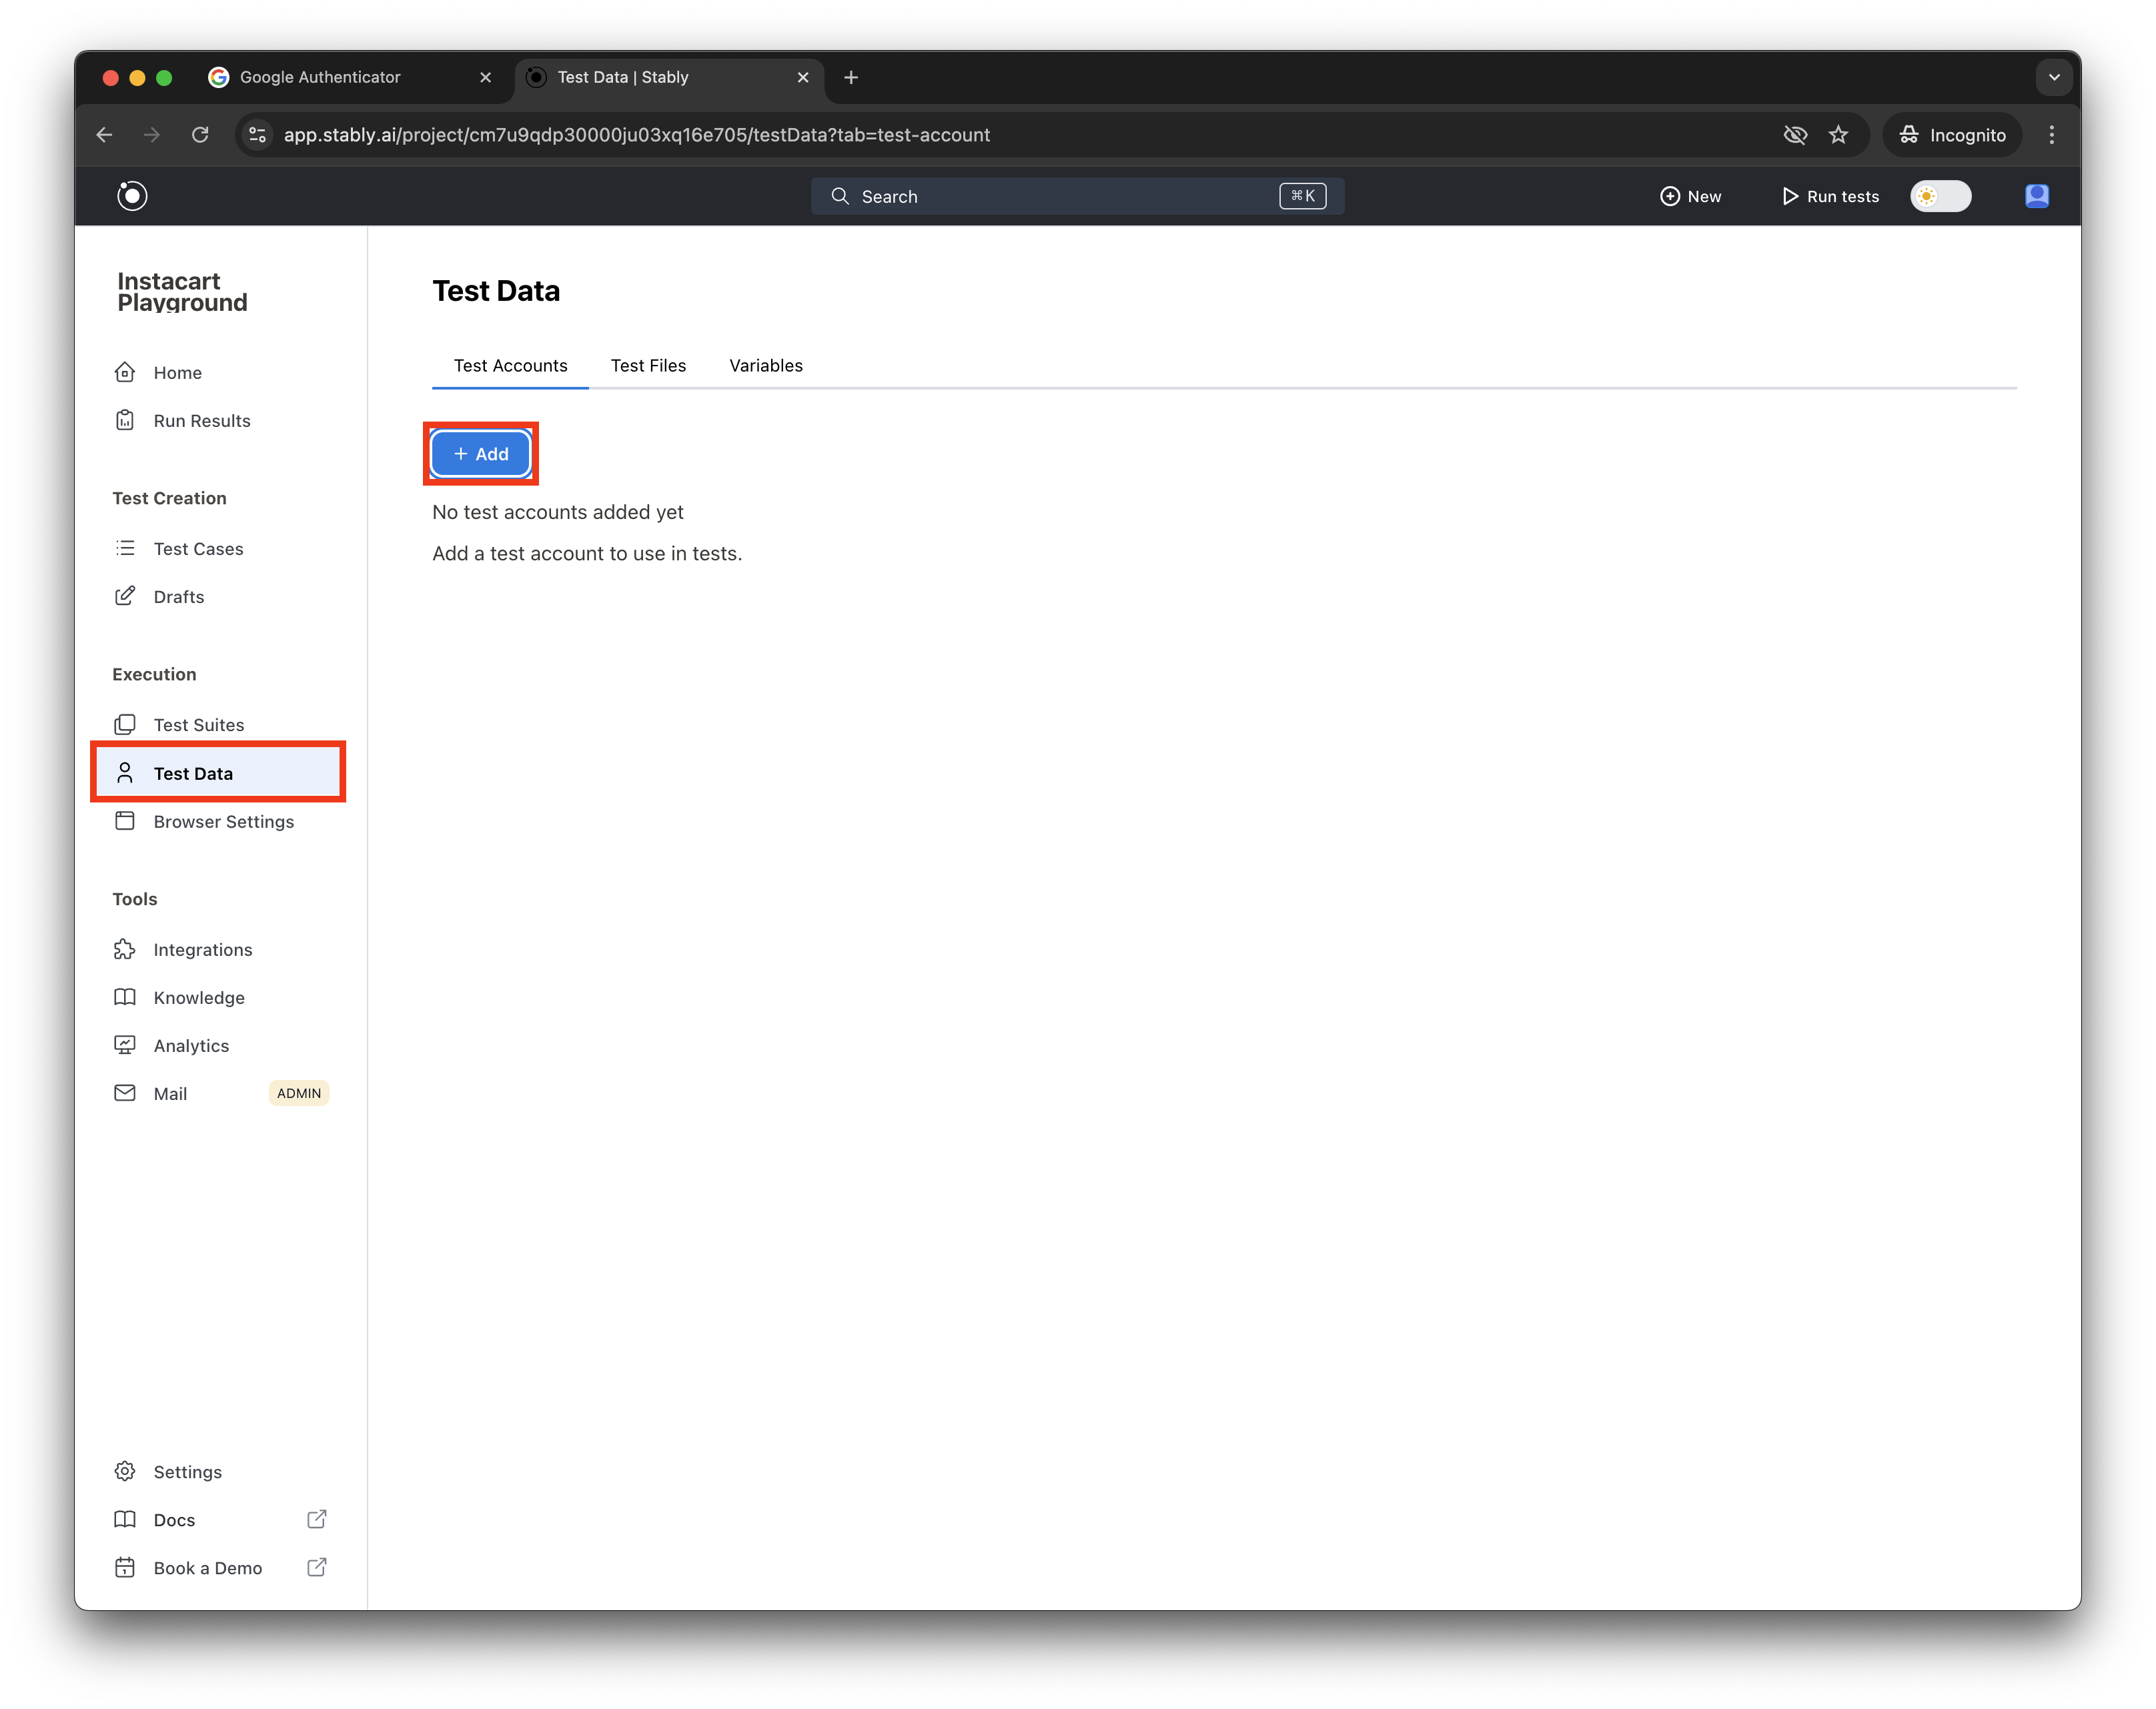
6
Create Test Account in Stably
- Open
app.stably.aiin a new tab - Navigate to Test Data > Test Accounts
- Click ‘Add Test Account’
- Select ‘Google’ as the account type
- Fill in the required details
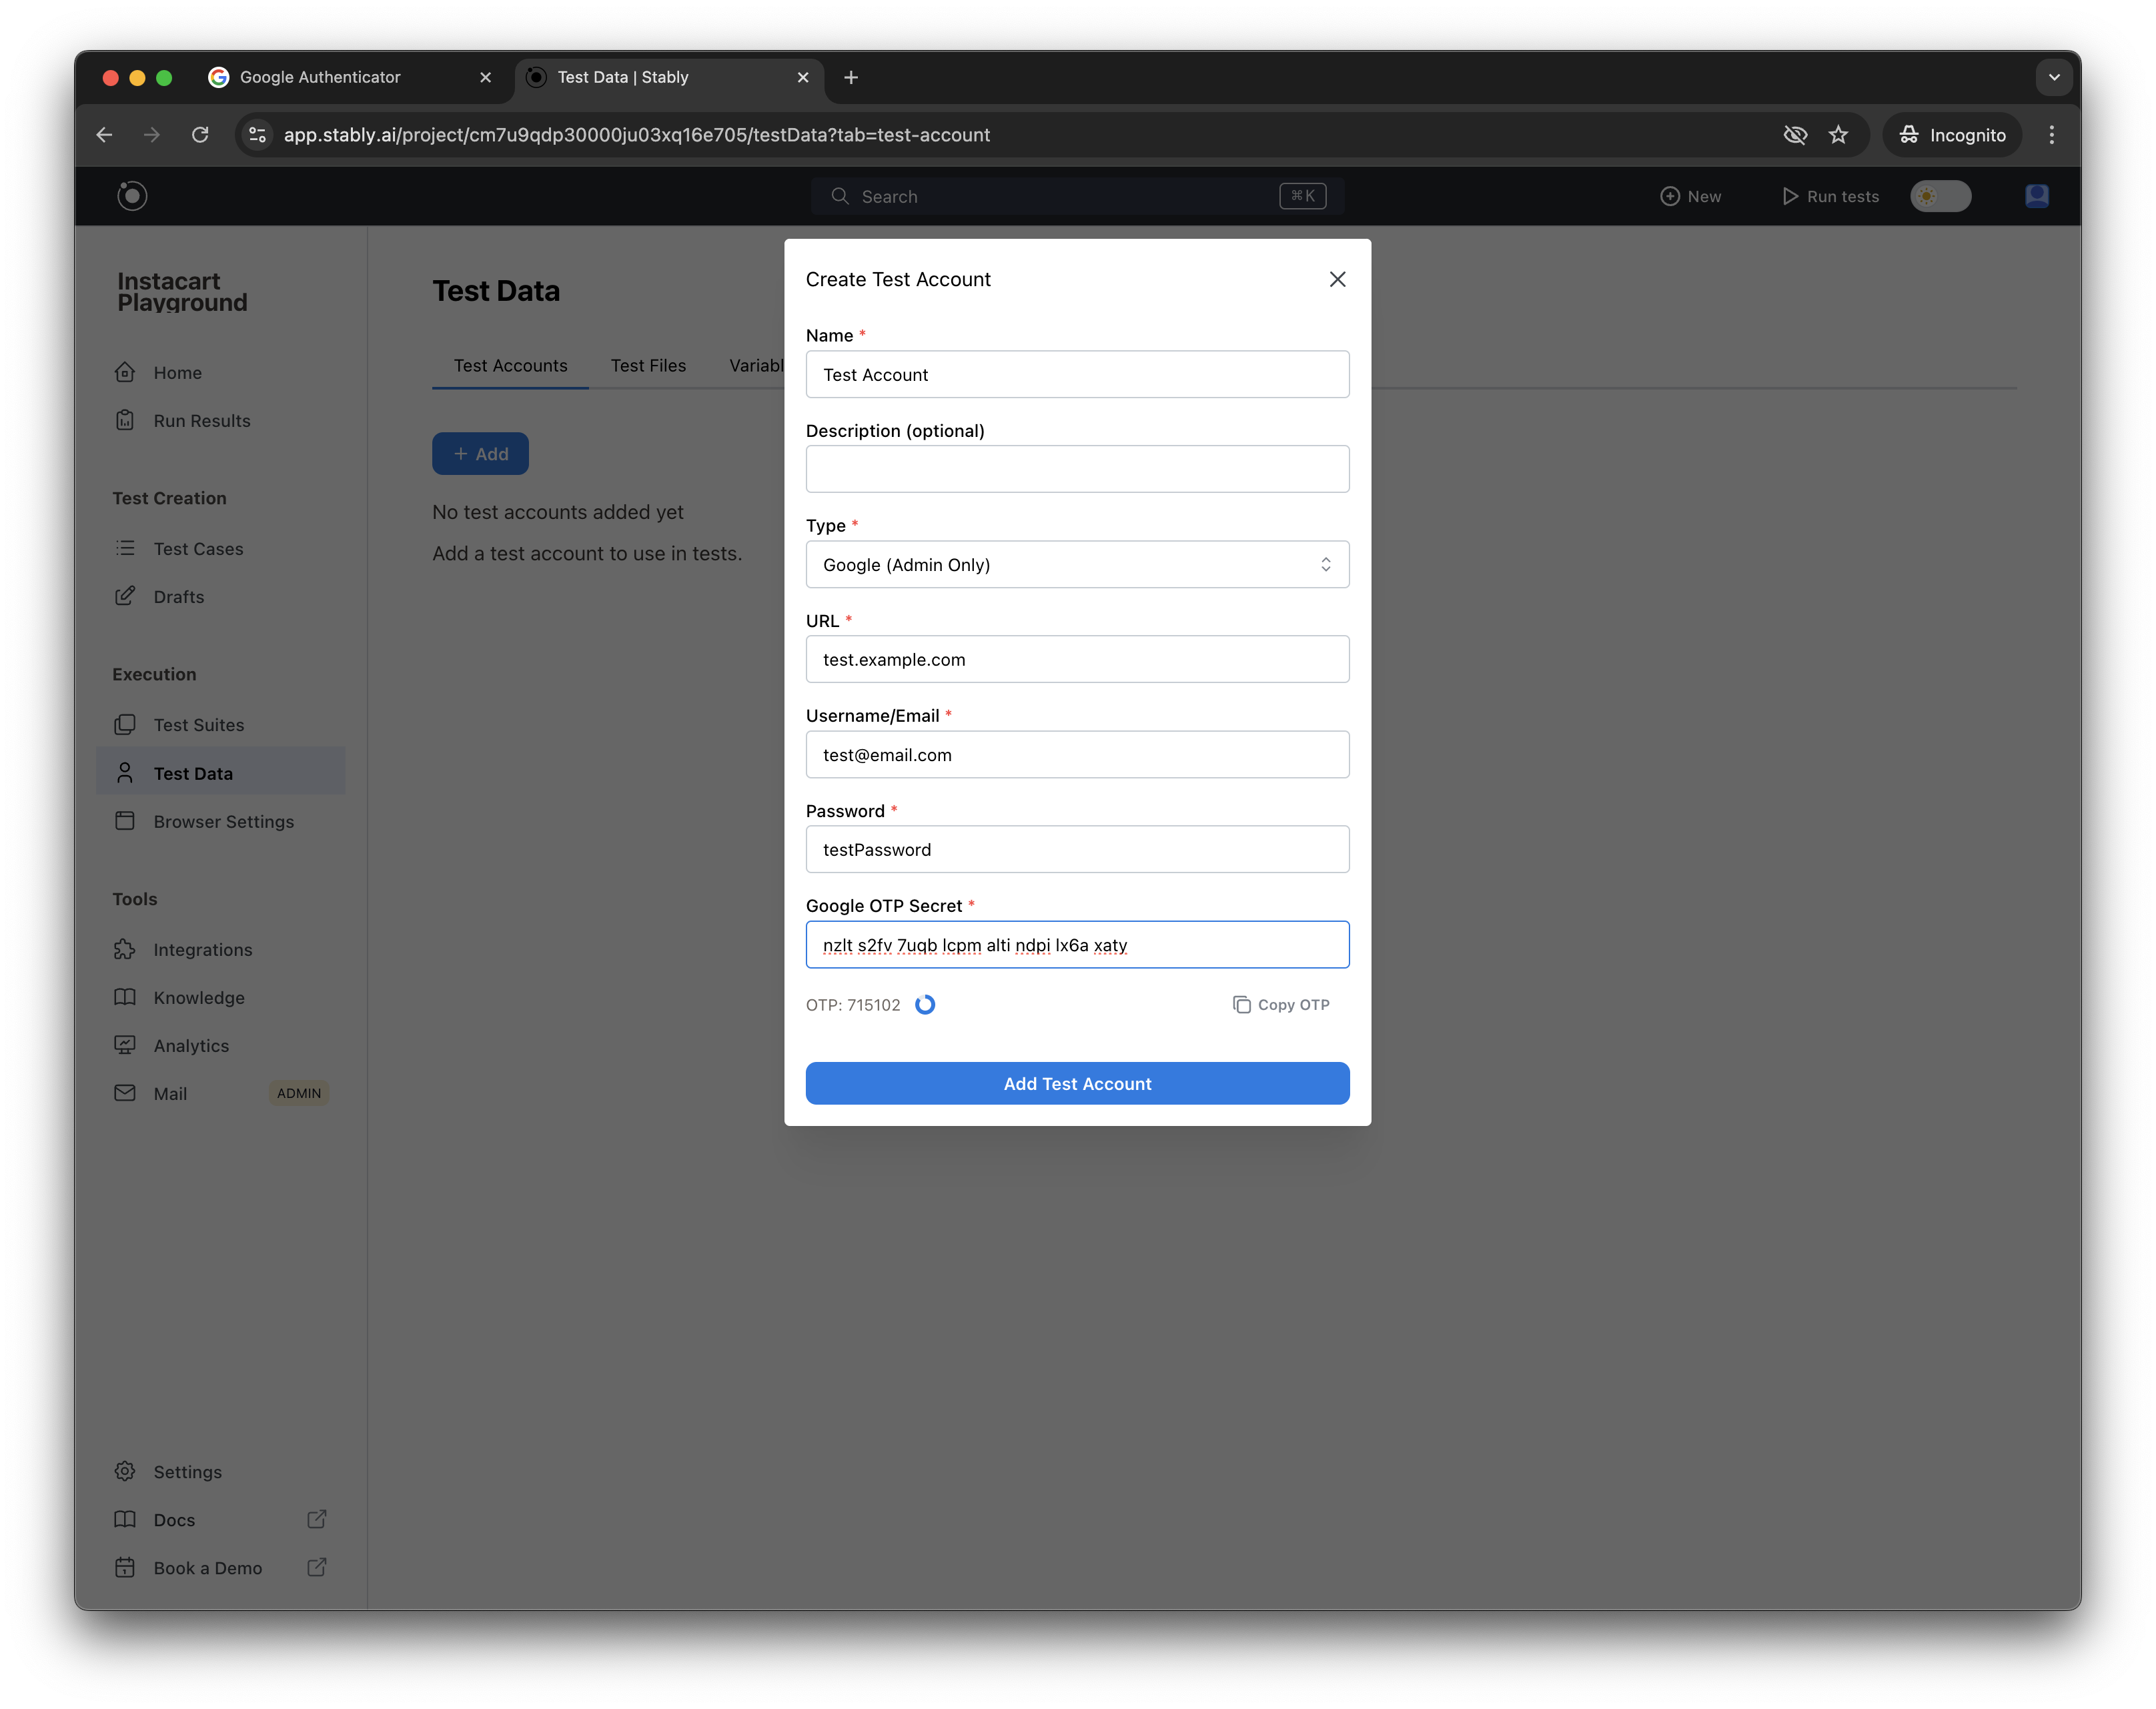
7
Copy-paste the OTP secret into Stably
8
In Stably, you'll see an OTP with a 30-second timer. Click 'Copy OTP' to copy it.
9
Finish authenticator setup in Google
Go back to the Google Accounts pop-up, click ‘Next’, paste the copied OTP, and click ‘Verify’ to finish the Authenticator setup.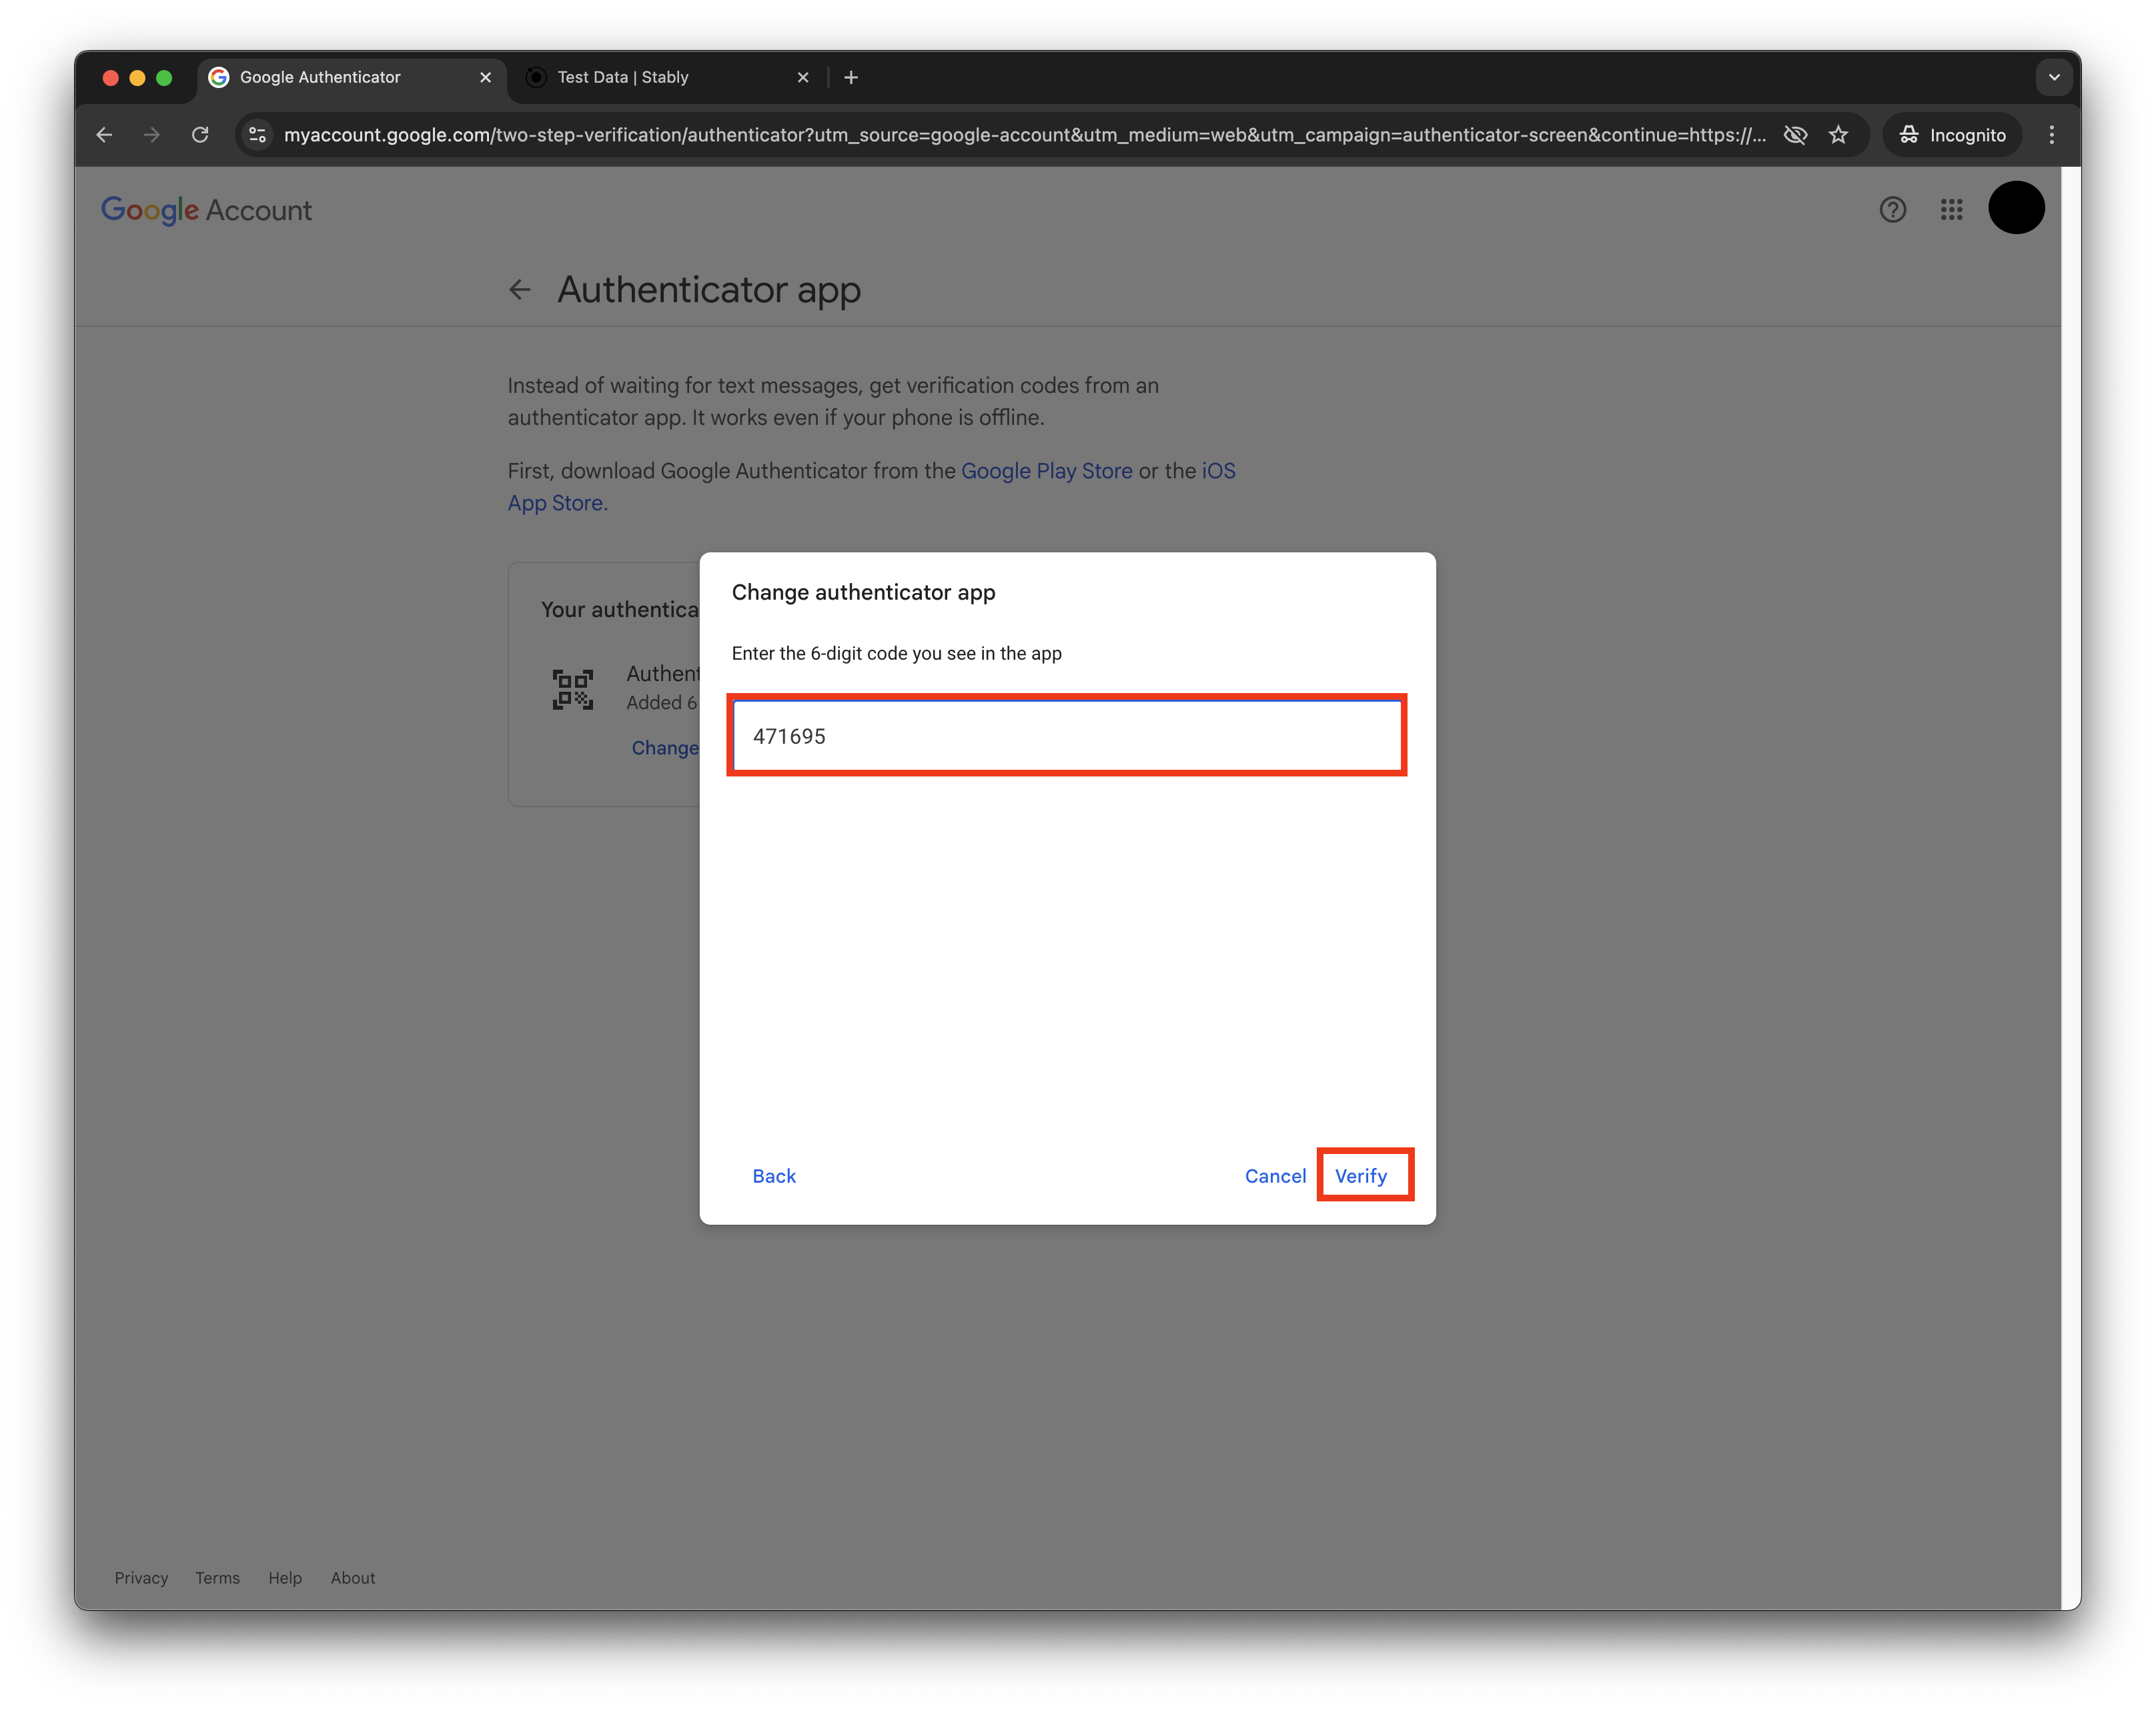
10
Finish test account creation in Stably
Back in Stably, click ‘Add Test Account’ to finish test account creation.
11
Enable 2FA and validate second steps
Go back to the Google Accounts page, turn on 2FA, and under ‘Second Steps’, make sure only the Authenticator is enabled (you might have to sign out of the Google Account on mobile devices).
12
You can now use this Google OAuth account in tests